Project: 1800s Steamer Trunk
Last Christmas (2015), my mom gifted me an antique trunk. Upon further research, I discovered it was from the late 1800's, and it is commonly known as a Humpback Steamer Trunk. These were most often used by people who were traveling - often on a boat, hence the "steamer" name. Not only did the rounded top provide extra packing space for travelers, but it also ensured it would be on the top of the stack as no other trunks could sit on top of it. Genius! (Suitcase companies really should revisit this idea. Goodbye airline damage!)


Once I had all the clippings that I wanted, I set to covering the inside of the trunk. With the help of Mod Podge (what CAN'T this stuff do?!), I placed and glued each article clipping into the inside of the trunk. It was like working a giant puzzle with no guide picture of the end product. Each piece needed to fit into a space that was not designed for it, while simultaneously covering all of the wood lining of the actual trunk. It was a fun process, but a very looooong process as well. I spent hours and hours working on this to ensure it was exactly how I wanted it to be.


The trunk is comprised of a combination of wood, metal, and leather. Unfortunately, most of the leather straps on my trunk are long gone, and the wheels on the bottom no longer roll. However, since I am using it as furniture and it gets moved about infrequently, those once-necessary parts and not missed.


The ornate hardware is what makes this piece so beautiful to me.

As beautiful as this trunk was on the outside (after lots of cleaning), it needed some SERIOUS help on the inside. The lining was old, faded, and slightly moldy. It also reeked like old. I don't even know how to describe this other than old. Opening the trunk filled the whole apartment with the smell of walking into a stale, musty house that had not been cleaned in over a century. The trunk sat vacant in a corner for several months while I tried to decide how to tackle the smell and make it usable.


Once the spring came and it was warm enough to work outside, I lugged this beast in and out of my apartment no less than 10 times. I decided the first step was to kill the mold and get rid of cobwebs and dust. So, I used a mixture of bleach and water and an old rag to wipe down the inside. After each wipe down I let the trunk sit in the sun to dry and air out. After several (dozens) of repetitions of this process, I finally felt the smell was manageable and the mold was all but gone.
My next course of action was to cover the inside so the old wood would not splinter into the items I planned to store in there (linens and blankets). My dad had an old suitcase full of old newspapers his grandfather had saved throughout his life, and he offered those up to me to serve as a wallpaper inside the trunk.

Together with my parents, my husband and I sorted through hundreds of newspapers to find the most interesting pieces. This was the best part of the whole process. I learned interesting facts (like the name Linworth is derived of its location between dubLIN and WORTHington). We saw the end of WWII announced on a front page, as well as JFK's assassination. I saw my great grandfather's name printed several times in various articles. I saw pictures of old buildings I recognized. We read interesting gossip columns about who attended dinner parties and speculation about which couples had been "fraternizing" too much. These articles were the Social Media of their day. Newspapers have come a LONG way since the time of reporting who attended a six-year-old's birthday party. That's what Facebook is for now.

After selecting articles, I sorted through the papers again to clip out the most interesting parts. I found a front page that had my great grandfather's name, Herman Mason, handwritten for delivery.


Once I had all the clippings that I wanted, I set to covering the inside of the trunk. With the help of Mod Podge (what CAN'T this stuff do?!), I placed and glued each article clipping into the inside of the trunk. It was like working a giant puzzle with no guide picture of the end product. Each piece needed to fit into a space that was not designed for it, while simultaneously covering all of the wood lining of the actual trunk. It was a fun process, but a very looooong process as well. I spent hours and hours working on this to ensure it was exactly how I wanted it to be.


After the entirety of the trunk was lined, I had to put several coats of Mod Podge on top of it to ensure no ripping, tearing, or shredding would happen while the trunk was in use for storage. I quickly abandoned the sponge brush as that was taking an eternity to cover all the space and opted for a rag soaked in Mod Podge that had been poured on a classy Pizza Hut paper plate.

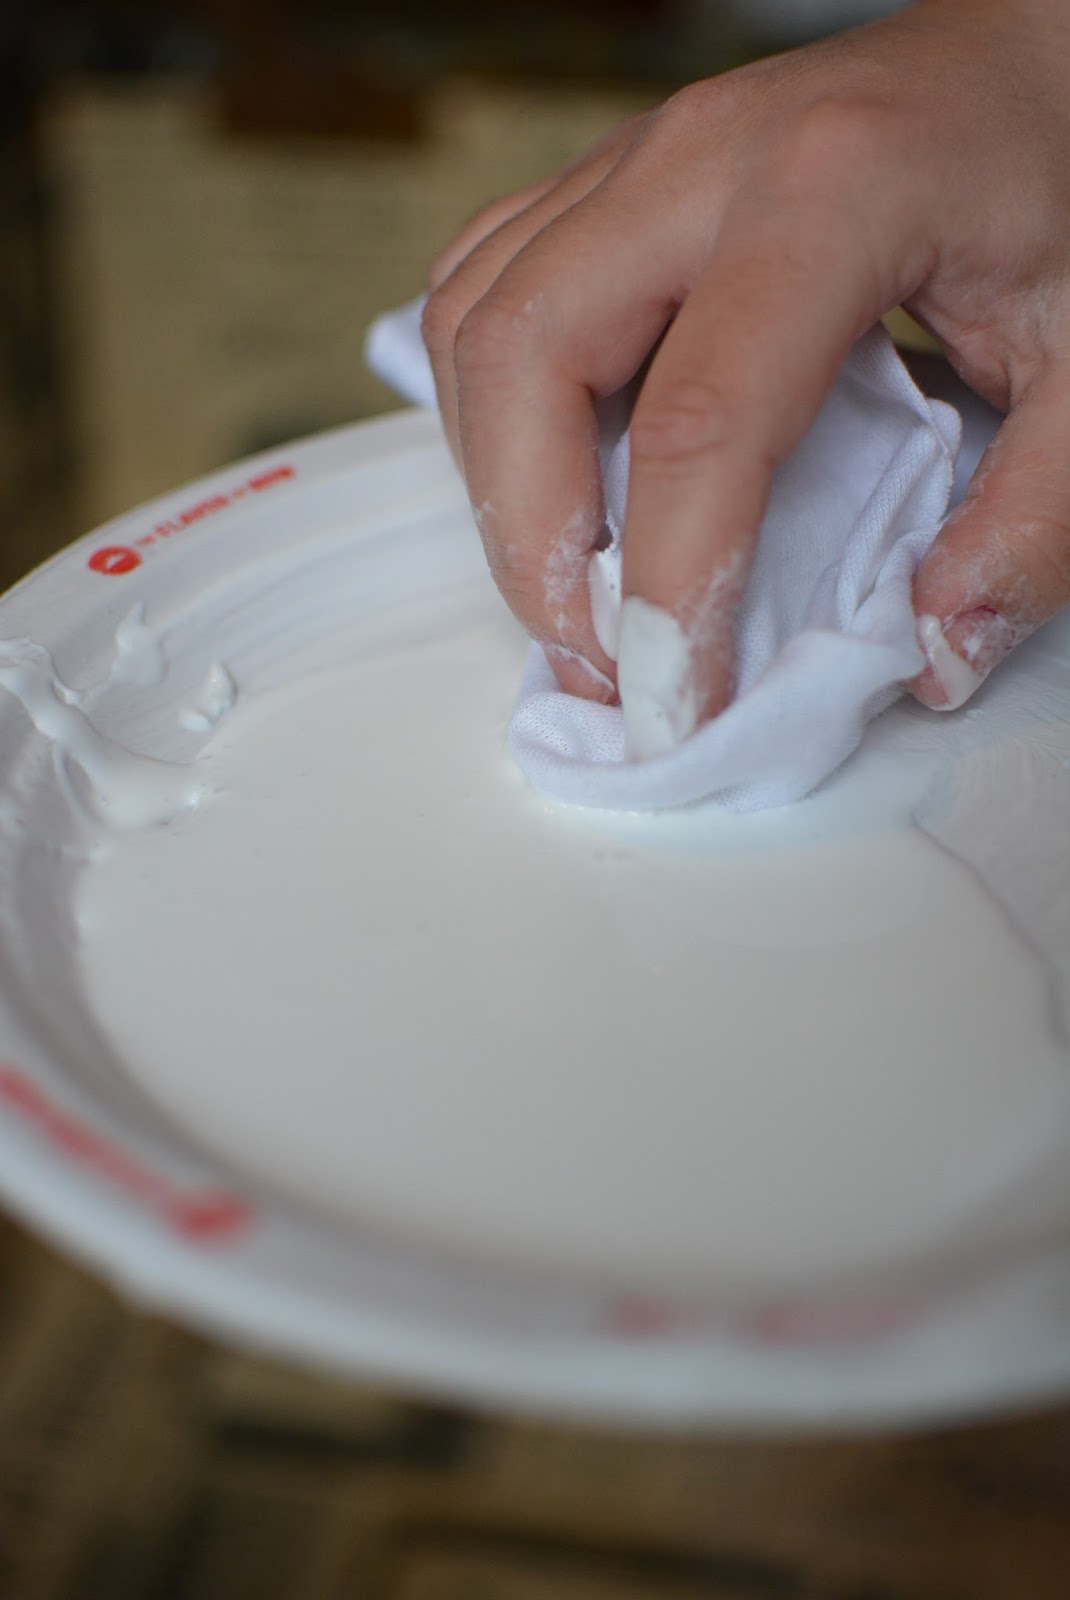
It took several passes, but I finally coated the trunk with several coats of Mod Podge.

I let the trunk sit for a couple of days before I placed anything inside of it to ensure the Mod Podge had fully dried and nothing would stick to the paper. Once it was dry, I placed vacuum sealed bags of extra sheets and linens, as well as everyday blankets, inside the trunk and placed the trunk in the family room of our apartment. Not only does it serve a functional purpose, but the it fits the over all feel of the space. Our whole wall is covered in antique cameras and travel photos, so the antique travel trunk is right at home.


This project took several months (mostly procrastination) but it is finally done and I am so happy with how it turned out!


Comments
Post a Comment