Project: Dump Truck Floor Pillows

With Christmas and birthdays for three little boys all within two months of each other, it can be challenging to find exciting gifts for each one. This year, I decided to make gifts...all the gifts for all the occasions! Two little boys were celebrating their second birthday, and they are both crazy about trucks. Specifically, construction trucks. Spending time with these two has made me aware of all the dump trucks, excavators, and cranes around me. I wanted to give them both something truck-related and useful. I stumbled upon this blog and decided dump truck floor pillows it was!

What is so great about this blog from Swoodson Says is the step-by-step directions. Now normally, I am not a direction follower. You can just ask my husband to eats lots of "personalized" recipes for dinner. But, this time I decided it might be helpful to stick to the book since I had never sewn anything this big or involved before. The overall pattern is fairly simple. It's lots of simple shapes (except for the names) and straight edges for the most part. That made the cutting process and the sewing process pretty easy for those who are gifted in cutting and sewing straight lines (I am not). However, I was determined to make these pillows look good. I persevered and did my best to make straight lines. Big thanks to my mom for lending me a cutting guide to make this easier!
Materials:
-PDF guide from Swoodson Says (link above)
-2 yards soft fabric (I used cotton flannel)
-1/2 yard coordinating fabric for appliques (I had 5 different colors on each pillow)
-Coordinating thread to match fabric colors
-Sewing machine (trust me, you DO NOT want to attempt this by hand!)
-1 Big bag of Poly-fill
-Iron on adhesive for letters and appliques (not required but makes the process SO much easier!)

The first thing you want to do is print off the PDF file of directions. After printing and sorting through the papers, lay out the dump truck pattern and tape it together. Tip: you will be cutting around the edges, so tape the middle of the paper instead of the edges that will be cut away (speaking from experience).

Once that is assembled, cut around the edges so you have a dump truck shape. It wasn't until this stage I really caught the vision of what was being created. For additional help, I outlined each piece and wrote in the color of fabric needed for that section. I was simultaneously working on two pillows that were similar but a little different, and my brain kept mixing up the colors. Writing them out ensured I was cutting the right fabric.


Next, lay the pattern over the fabric and start cutting! Start with the biggest shape and work your way in. I layered my fabric for the front and back so I was cutting them at the same time. Less cutting and it ensures your materials will match up later!

Once the big dump truck shape is cut out, cut each smaller shape inside of the truck (wheels, window....) and use those as pattern guides for cutting the coordinating colors.

For the names on the pillows, I had a TON of help and guidance from my mom. She used her Cricut cutting machine. We picked out a font and the machine cut out the names on paper, which we then used as a pattern for cutting out the letters on the fabric. I chose to match the letters of the name with the light blue of the window, but you can do them whatever color you want.

 I should also mention that I attached the Heat'N Bond iron on adhesive to the fabric BEFORE cutting out the shapes of the letters. It makes the fabric a little bit more stiff which allows easier cutting. Also, it stops the fabric from fraying once it is sewn onto the pillow, which is a necessity unless you have a serger machine and sew over all the edges of the letters. I do not, so this adhesive was a lifesaver.


If you thought THAT was hard, wait until you have to sew around all those edges!
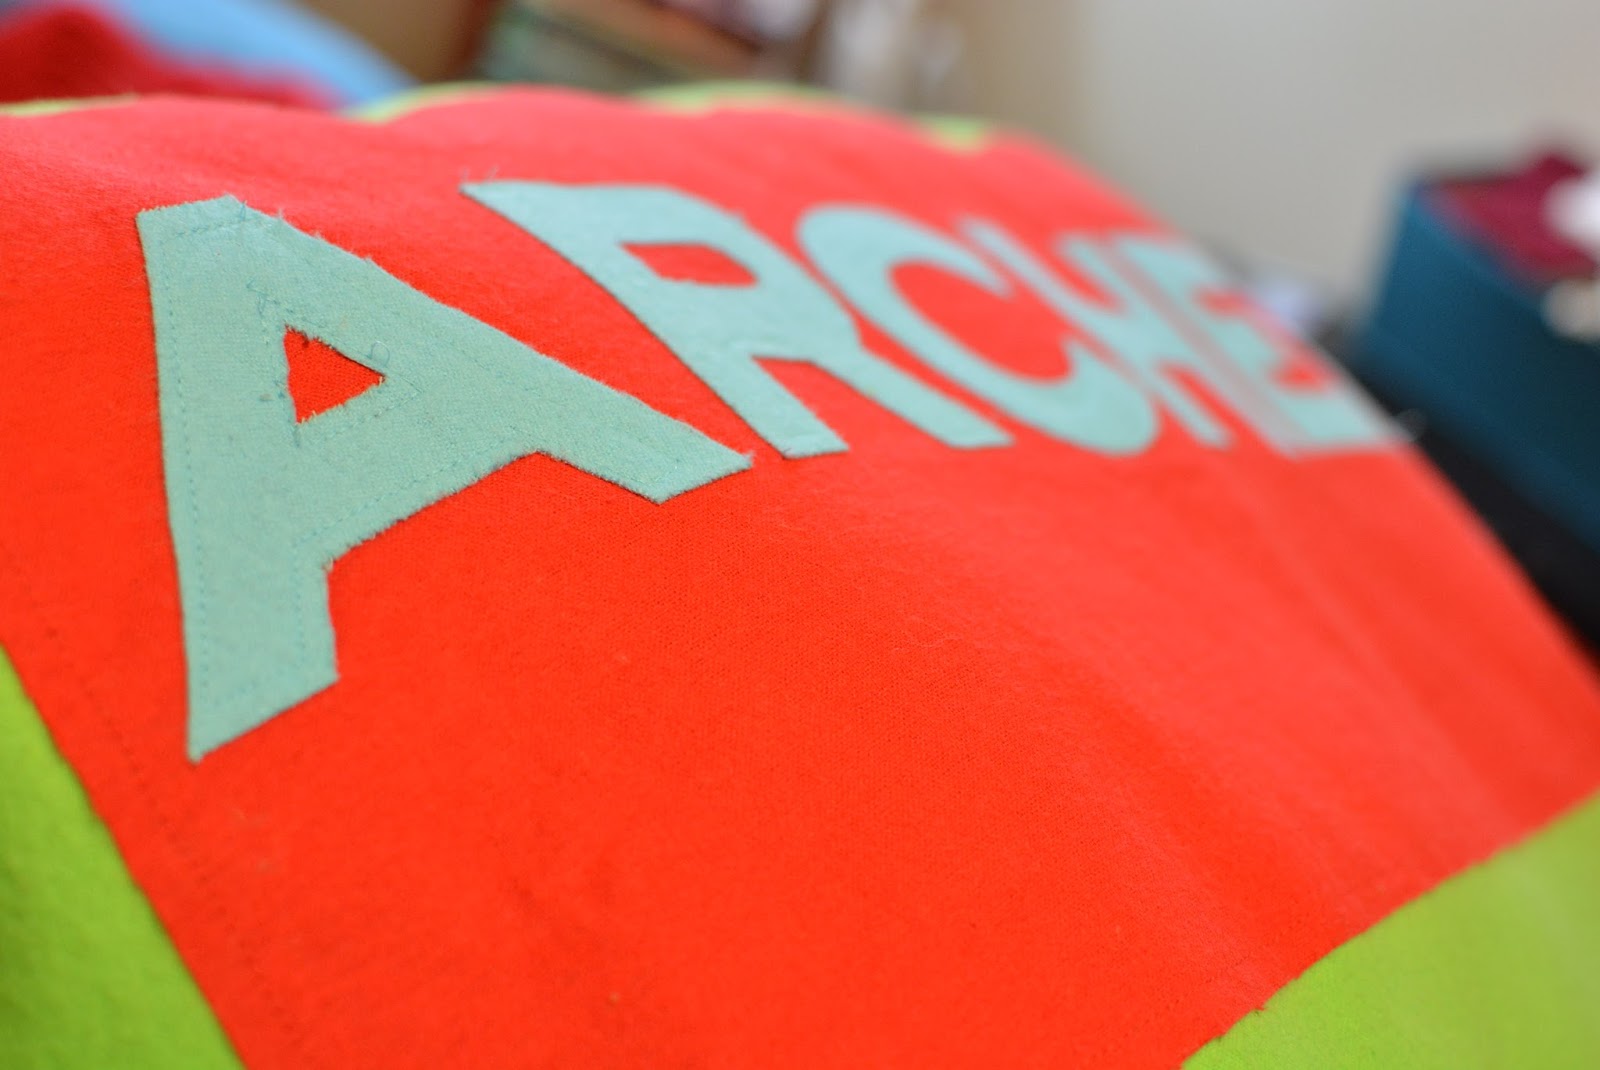
The rest of the process is simply assembling and sewing! Piece of advice I wish had occurred to me before I began sewing: attach the letters to the block BEFORE attaching the block to the whole pillow. Let me tell you, it is very difficult to fit that whole pillow under the arm of a sewing machine! I blame my crooked lines on that, not my inability to sew a straight line.


This pillow, while fairly simple, took a lot more time than anticipated. Also, it's HUGE! So wrapping it to give as a gift was challenging. I ripped through two bags before I got creative. (Necessity is the mother of invention, right?) I may or may not have utilized trash bags and packing tape in the process...but at least I finished it with a bow!
But, when all is said and done, I am thrilled with how the pillows came out! I know these little boys will get lots of use out of them. (Additional side note: as these pillows were so big I struggled to get a good picture of them. I realize now the one below isn't perfect, but you get the idea! It's a dump truck!)


Comments
Post a Comment